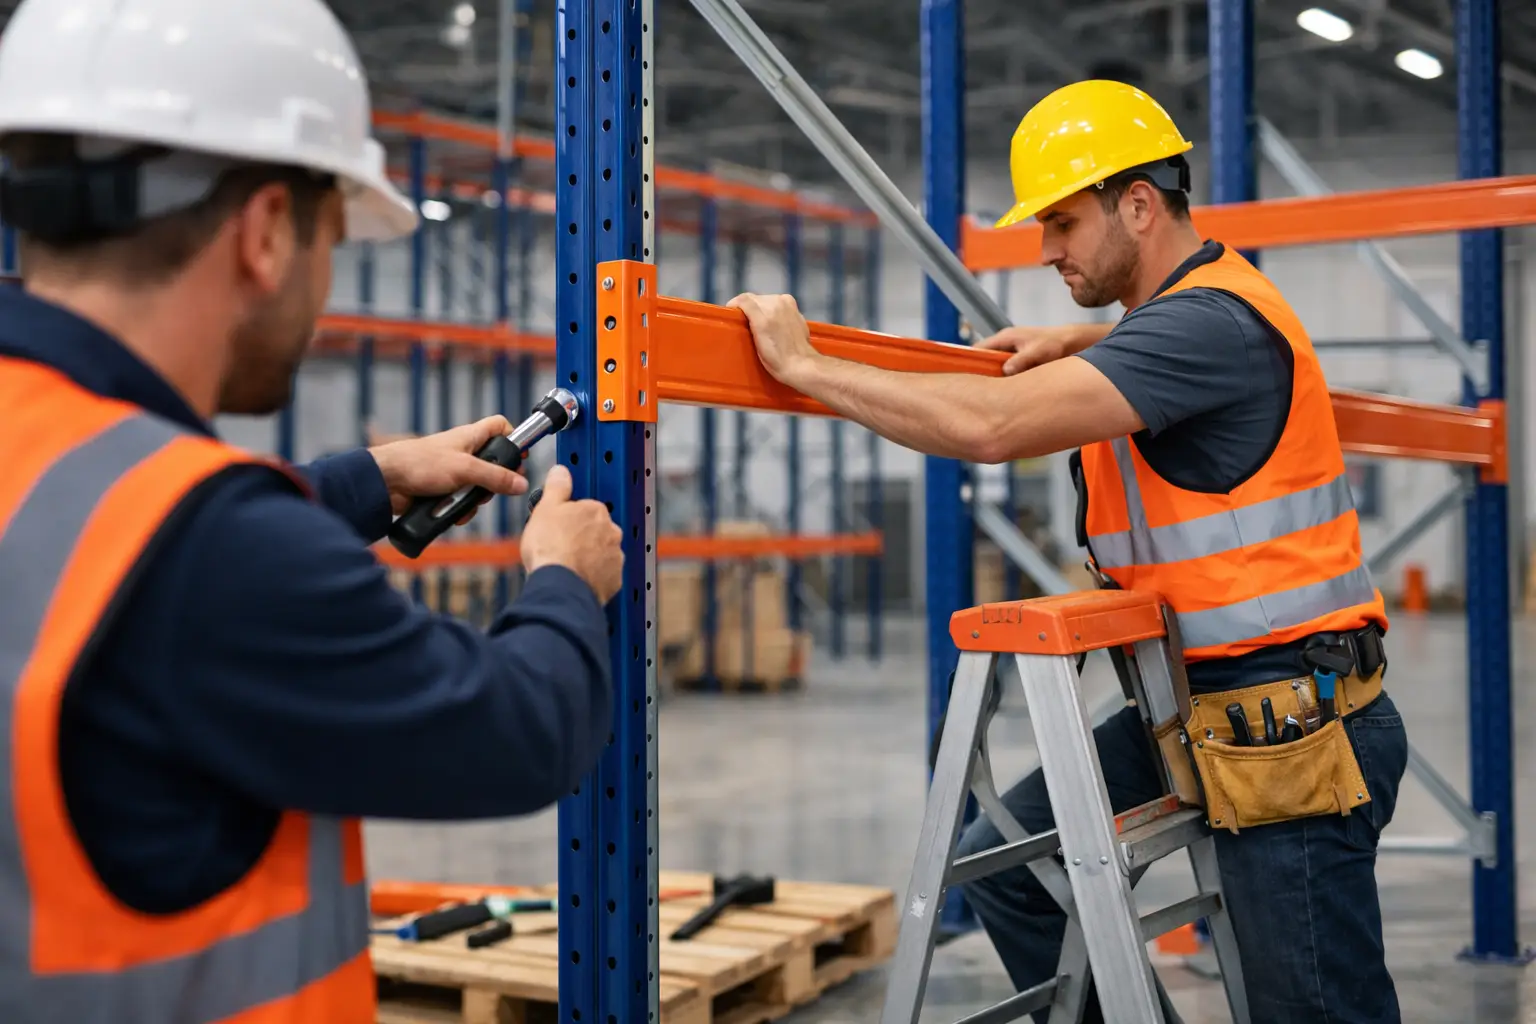
A pallet rack installation can look straightforward until a loaded bay is out of plumb, an anchor misses its design location, or the first forklift impact exposes a clearance problem. Knowing how to install pallet racking means managing the engineered system, the building conditions, and the operating environment as one coordinated scope. The objective is not simply to erect steel. It is to place a storage system into service that supports safe, repeatable throughput at its intended load capacity.
For operations leaders, the installation phase is also where schedule pressure can create long-term risk. Racking is often installed alongside lighting, sprinklers, conveyors, charging equipment, or active shipping and receiving. A controlled plan protects the project schedule without treating safety, engineering, or commissioning as items to resolve later.
Start With an Engineered Rack Plan
The installation crew should work from an approved layout and manufacturer-specific installation documents, not a preliminary warehouse sketch. The final plan establishes aisle widths, rack orientation, bay and frame dimensions, elevations, pallet positions, flue spaces, clearances, and load capacity. It also identifies whether the system is selective rack, drive-in rack, pushback, pallet flow, cantilever, or another configuration. Each system has different assembly, bracing, access, and protection requirements.
Before material arrives, verify that the layout reflects the actual building. Field dimensions can differ from early drawings because of columns, wall conditions, dock equipment, electrical rooms, slab joints, sprinkler mains, or changes made during construction. Confirm the clear height and required clearances to sprinklers and other overhead systems. Coordinate fire protection requirements with the authority having jurisdiction and the project’s fire protection design team.
Floor conditions deserve the same attention. Rack frames transfer substantial concentrated loads into the concrete slab. The slab must have adequate capacity for the rack design, equipment loads, and anchor type. Review slab thickness, reinforcement information when available, flatness and levelness data, joints, cracks, voids, and embedded utilities before drilling. A rack layout that works on paper may require adjustment if slab conditions do not support the planned anchors or if an expansion joint crosses a frame location.
Prepare the Site Before the First Frame Is Set
A clean, controlled work area reduces rework and keeps active operations moving. Establish installation zones, material staging areas, travel paths, delivery access, and exclusion areas before unloading rack components. If the facility remains operational, separate installation activity from lift truck traffic with physical barriers and clear communication procedures. Do not rely on floor tape alone where forklifts, pedestrians, and elevated work are present.
Inspect delivered material against the bill of materials. Confirm frame heights and depths, beam lengths, wire decking, row spacers, anchors, shims, safety clips, column protectors, and any specialty components. Damaged or mismatched components should be identified before installation begins. Substituting a similar-looking beam or brace from another rack system can invalidate the engineered configuration.
The crew should also confirm that the required equipment is available and suitable for the building. This can include forklifts, scissor lifts, boom lifts, laser layout tools, calibrated torque tools, and drilling equipment matched to the approved anchor system. Elevated work plans, fall protection requirements, and operator qualifications should be addressed before assembly starts, not when the top beam is ready to install.
How to Install Pallet Racking Step by Step
Lay out frame locations accurately
Begin by establishing control lines from the approved layout. Mark frame locations, aisle centerlines, and row lines on the slab. Check the layout against building columns, dock approaches, emergency exits, electrical panels, and conveyor interfaces. Measure diagonals across the first rack sections to keep rows square. Small layout errors multiply across a long row and can create aisle-width problems at the far end of the system.
For installations involving very narrow aisle equipment, automated storage interfaces, or guided lift trucks, tolerances are especially critical. Coordinate rack positioning with the equipment supplier before anchoring frames. A rack row that is acceptable for a standard counterbalance forklift may not meet the tighter requirements of a turret truck or automated guided system.
Assemble frames and install initial bays
Assemble upright frames using only the approved braces, hardware, and connection pattern. Install the first frames in the designated locations, then connect them with beams to create stable starter bays. Maintain temporary stability during erection. An unanchored or partially assembled rack row can become unstable if it is bumped, loaded prematurely, or exposed to unintended lateral force.
Use a level and plumb measurement process throughout installation. Frames need to be set within the tolerances specified by the rack manufacturer and applicable standards. If the floor varies, use approved steel shims where permitted. Do not use wood, loose steel scraps, or improvised materials to level frames. Shimming is a designed part of installation, and it must support the frame base properly without compromising anchor engagement.
Install beams at the approved elevations and confirm that beam connectors are fully seated. Fit safety locks or clips as required by the manufacturer. These small components are essential: they help prevent a beam from being dislodged when a pallet or lift truck contacts the rack.
Anchor, align, and brace the completed rows
Once the row is aligned, plumb, and level, install anchors according to the approved anchor schedule. Anchor diameter, embedment depth, edge distance, spacing, installation torque, and cleaning requirements all matter. Concrete dust left in drilled holes, incorrect drilling depth, or an anchor installed near a slab edge can reduce holding capacity.
Do not move frame bases after anchors are set by pulling or forcing the row into position. Recheck plumb and alignment before final tightening. Install row spacers, back-to-back ties, wall ties, seismic bracing, and other accessories exactly as designed. These components control rack geometry and stability; they are not optional finishing items.
Progress through the system in planned sections, repeatedly checking dimensions rather than waiting until the entire installation is complete. This is particularly valuable in large distribution centers, where a minor deviation in the first several bays can become a major correction after hundreds of feet of rack are in place.
Add decking, protection, and operating components
Install wire decking, pallet supports, drum cradles, safety panels, rack-backed netting, and other load-handling accessories only where they are specified for the intended storage method. Decking does not automatically increase beam capacity, and it should not be used to support loads outside its rated application.
Where forklifts operate near frames, install the designed protection system. That may include column guards, end-of-row protectors, guide rails, or barriers. Protection should be selected based on truck type, travel speed, aisle configuration, and impact exposure. A light-duty frame guard may not be adequate at a high-traffic end-of-aisle location.
Verify Safety Before Loading the System
A rack installation is not complete when the last beam is placed. It is complete when the system has been inspected, documented, labeled, and turned over for use. A qualified inspection should verify rack geometry, anchor installation, beam engagement, safety locks, bracing, shims, decking, and protection devices. Review the installation against the approved drawings and resolve deviations before product is loaded.
Load application also needs review. Confirm pallet size, pallet quality, load overhang, unit-load weight, beam elevations, and lift truck reach. The rated capacity posted on the rack must match the final configuration. If beam levels are changed later, pallet weights increase, or the storage method changes, the original capacity label may no longer apply.
Install clear load-capacity signage in the required locations and train operators on the system’s intended use. Operators need to understand which loads belong in which locations, how much overhang is allowed, and what impact damage must be reported. A post-installation inspection program is equally important. Rack damage is often gradual, but a bent upright, displaced beam, or damaged anchor can quickly become a serious structural issue under load.
Plan Installation Around Operations, Not Against Them
Many facilities cannot pause fulfillment or production while new storage is installed. In those environments, phasing is a core part of the installation plan. Work may need to proceed by zone, shift, aisle, or weekend window, with defined handoff points between construction activity and warehouse operations.
The trade-off is clear: aggressive phasing can reduce downtime, but it increases coordination demands. Material staging, equipment access, fire egress, dust control, and forklift routes must be managed continuously. A single accountable installation partner can coordinate rack installation with construction, automation, electrical work, and facility changes so that one scope does not create delays in another.
For complex warehouse projects, MTLI Group approaches pallet racking as part of the operating facility, not as an isolated equipment package. That perspective helps align layout, installation sequencing, safety controls, and turnover requirements before the warehouse team begins loading product.
A properly installed rack system creates usable capacity only when crews can operate around it with confidence. Treat the final inspection and operator handoff as the point where installation becomes an operational asset - and give that step the same discipline as the build itself.